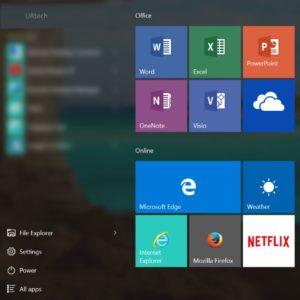
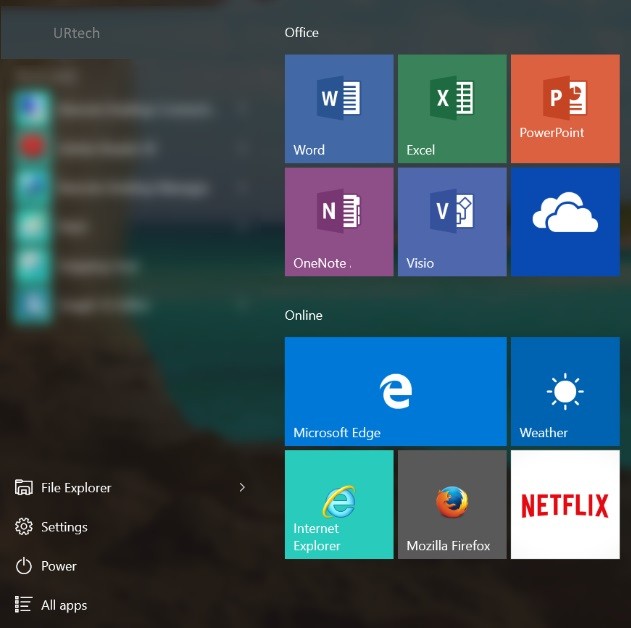
There are 3 ways to configure the START MENU tiles and left RAIL (the thin menu on the far left that defaults with power, settings, documents) in Windows 10 with default applications:
 A – GPO
- Using a Windows 10 PC add the tiles and rail configuration you would like.
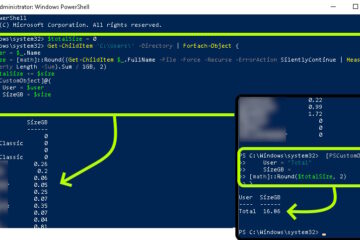
- Open a PowerShell (Admin) prompt
- Enter
Export-StartLayout -Path "C:\Temp\MyStartMenu.xml" - Copy that
MyStartMenu.xmlfile to a location on your network that all PC’s get read from - Create or Edit a Group Policy
- Expand
COMPUTER CONFIGURATION (or USER CONFIGURATION) > POLICIES > ADMINISTRATIVE TEMPLATES > START MENU AND TASKBAR - Set START LAYOUT to ENABLED and point it the
MyStartMenu.xml
If you want to allow users to add their own shortcuts, open up your .XML file and change
<
DefaultLayoutOverride>
to
<DefaultLayoutOverride LayoutCustomizationRestrictionType="OnlySpecifiedGroups">
We have a longer version of this topic HERE if you want more details.
B – UNATTENDED ANSWER FILE
If you are imaging your Windows 10 PC’s with something like Windows Deployment Services you can
You can use Windows System Image Manager (from Windows Assessment and Deployment Tool Kit) to build a custom answer file. That is not rocket science but is beyond the scope of this article. If you want to know how to use WSIM to create an answer file, read THIS article.
Suffice it to say that in the <settings pass=”specialize”> section you need to have entries that specify which tiles you want and where you want them. In the example below WORDPAD and WORD 2007 shortcuts will appear on the START MENU:
<StartTiles>

<SquareTiles>

<SquareTile1>

<AppId>%ALLUSERSPROFILE%\Microsoft\Windows\Start Menu\Programs\Accessories\Wordpad.lnk</AppId>

</SquareTile1>

<SquareTile2>

<AppId>%ALLUSERSPROFILE%\microsoft\windows\start menu\programs\Microsoft Office\Microsoft Office Word 2007.lnk</AppId>

</SquareTile2>

</SquareTiles>

</StartTiles>
Once you have your answer file you need to apply it to the machines you are deploying. How you do that varies from software to software but if you are using Windows Deployment Services, you:
- right click on the image you care about
- select PROPERTIES
- click BROWSE to find the .XML answer file you want to apply
C – SYSPREP
You can also use SYSPREP to set the default START menu:
- Pin To Start and arrange the START menu with all of the tiles and rail items you want
- Download THIS .XML file, unzip it and copy it C:\TEMP on the PC you are SysPrepping
- Launch a cmd prompt running as an administrator and enter the following
sysprep /oobe /generalize /shutdown /unattend:C:\Temp\CopyProfile-Win10.xml
Remember, before you use Sysprep you MUST remove all of the Store Apps from all profiles. So generally we delete all accounts and profiles other than the one local account we are working in and then run the powershell command Get-AppxPackage -AllUsers | Remove-AppxPackage


0 Comments