Video editing software has come a long way in the last decade. Ten years ago, the only way to edit a video was with specialist software that cost huge subscription fees. Nowadays, we can go online and easily edit video footage for free. Here are the best tools to help you do just that.
Video editing is a skill that not everyone has. However, this is not the drawback that it used to be. While two decades ago, the only people who filmed anything were film students and camera operators working for TV studios. Who would have thought that 20 years later we would all have a fully functional, high end camera in our pockets? Certainly not those early day makers charging a small fortune for each editing suite.
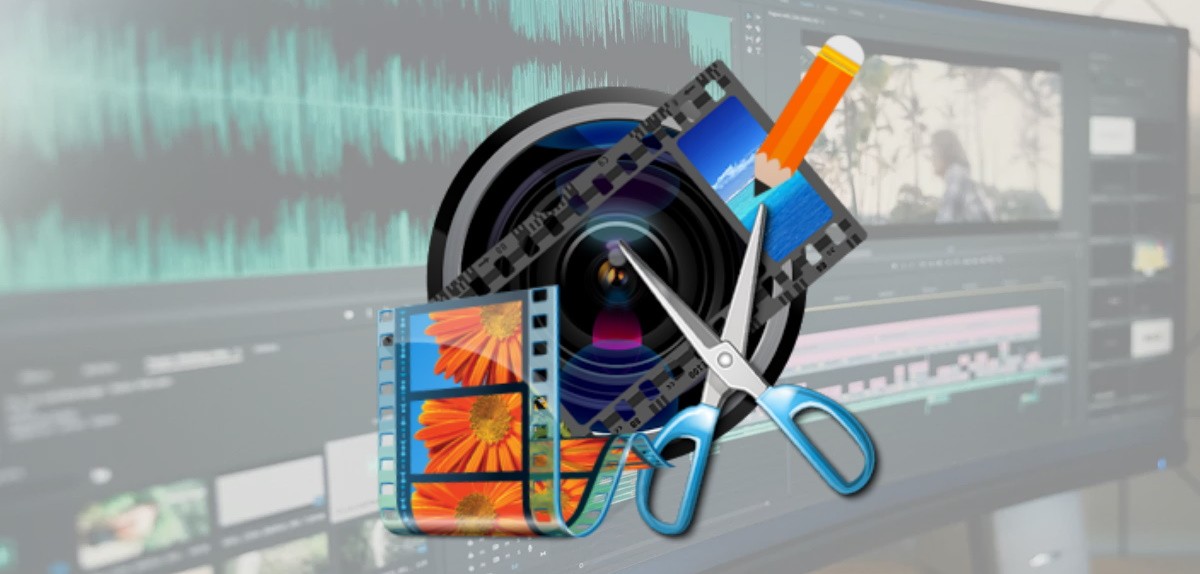
How to Edit Video Footage
There are so many available programs today that we have developed an industry-standard of key bindings. For example, hitting the “I” key on any good editing platform should cut you in, while pressing the “o” key should cut your footage out. Space bars usually play the footage, while we have a vast range of choices in effects and filter that we never had before.
Editing takes time and attention to detail. You may need to go back and re-record parts you can’t make work. This is industry standard practice. If you have a big project to edit, be sure to set aside a few days for the editing because it always takes longer than you think it is going to.
Video recently got a huge boost in popularity thanks to apps like TikTok and YouTube. Added to this, you can transfer video files between your phone and your computer to help edit photos and videos. Now you can combine video online during the editing process, giving you ever more scope to create feature-worthy films all by yourself.
The Steps to Easily Editing Video Footage Online
How do you edit your video footage easily? You use a combination of small programs to do what you want to do. The stages should look like this.
Stage 1 – Upload/Capturing/Logging
Transfer your files online by using your selected free programs to upload or capture the footage. You can upload your footage to the internet or download a program to work with.
Step 2 – Dissection
Once you have all the footage uploaded, you can go through the process of dissecting it. This means cutting in and out the parts that you want to keep and the parts you want to drop.
Step 3 – Improving on a Good Thing
Now that you have your basic structure, you can start improving the quality. This might mean merging videos, it could mean sharpening the sound, or it might involve highlighting areas of the reel.
Step 4 – Finishing Touches
Once you have the sound and picture matching how you like it, it’s just a case of making those finishing touches and exporting the video to a manageable file. You can even transfer that file back onto your phone for publication on a site of your choice.


0 Comments