SOLVED: How To Change Office365 From Deferred to Current Channel
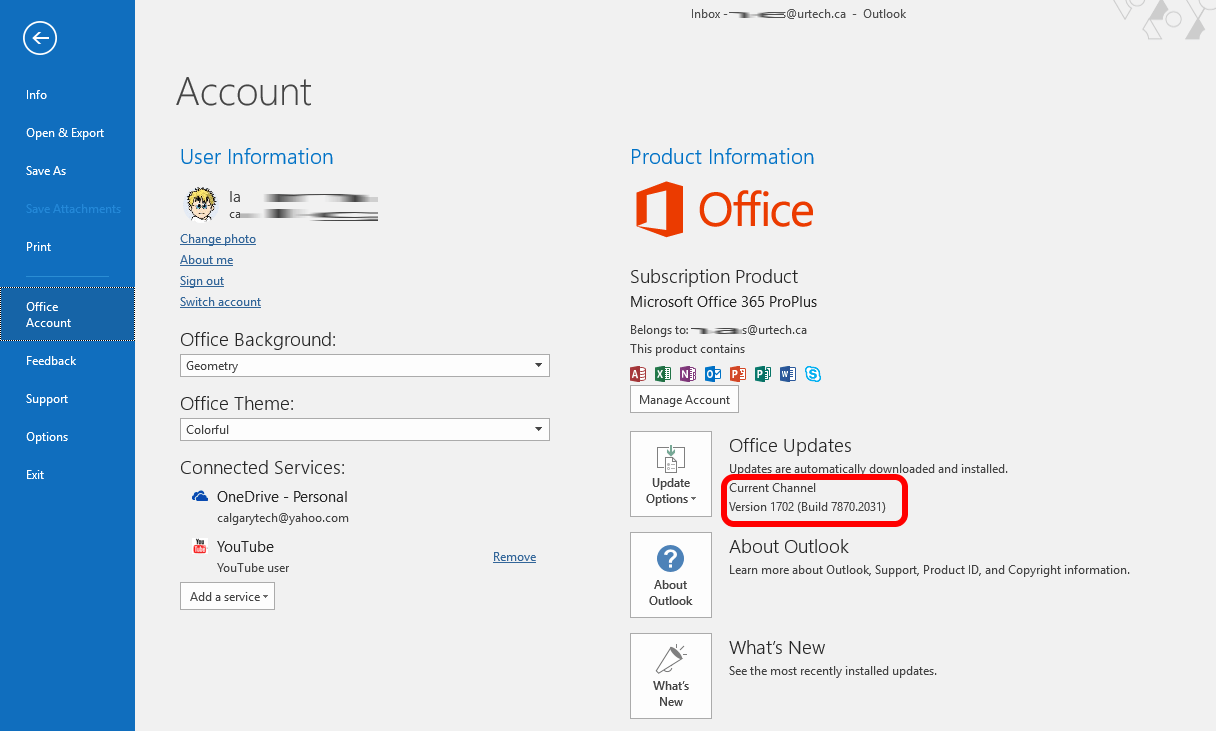
If you have Office365 Office 2016, by default you are running a product that is 4 months old. This is called the Deferred Channel. For a variety of good reasons you may want to change to the Current Channel:
Testing
Needing a new feature
Needing to eliminate a bug that has been fixed
You just like to live on the edge, like us at URTech.ca 🙂
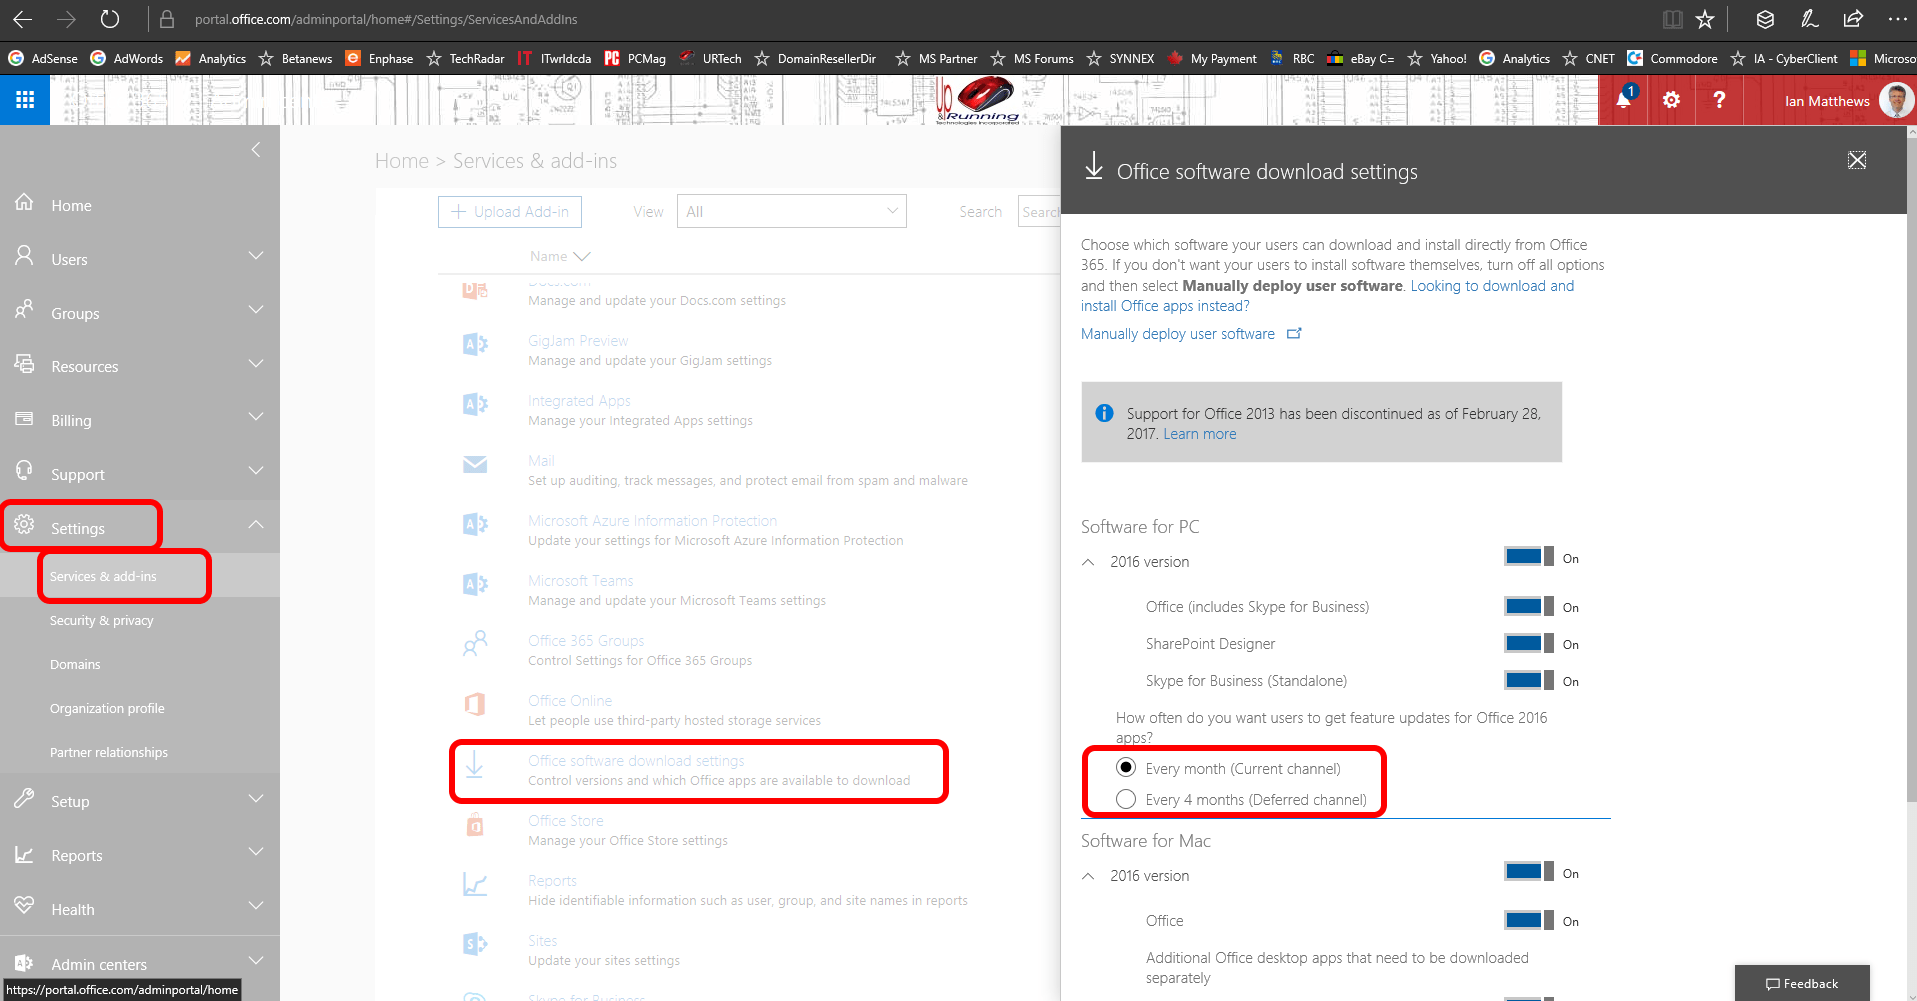
To do this you have 3 changes to make; two changes in the Office365 Portal and one on any PC’s that you already have Office365 Office 2016 installed on. Note that any PC you already have Office365 installed on, will NOT automatically change from Deferred to Current channel so read on!
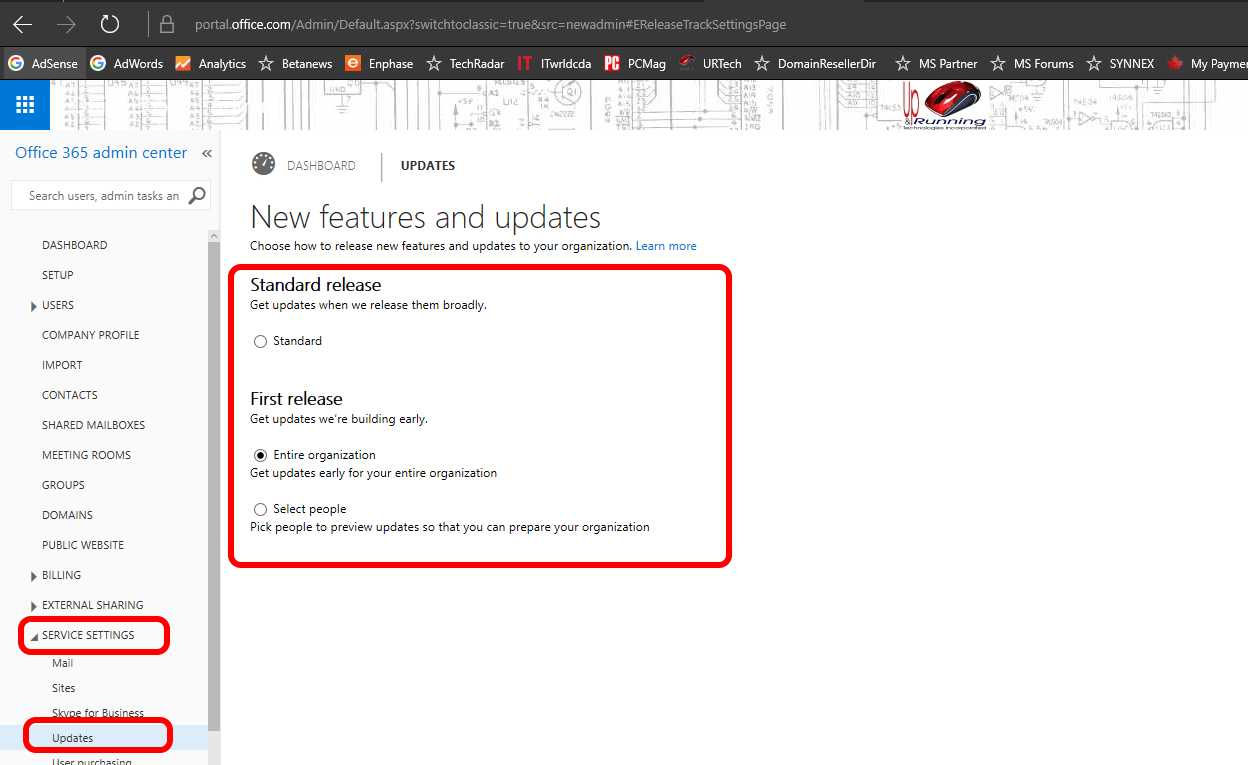
On the HOME page (top left of the left hand menu) click the Go to the old admin center link (at the top right of the page)
Expand SERVICE SETTINGS > UPDATES
Select ENTIRE ORGANIAATION or SELECT PEOPLE
STEP 3: Force Office 2016 Installs To The Correct Channel
Use the Microsoft FIXIT Tool which you can directly from Microsoft
See THIS post for more information on why Office365 does not detect channel changes
The process to move from Office365 Deferred to Current Channel is a little more complex that it could be but it is only supposed to be rarely changed and only by qualified administrators.
View Comments